
3D Design and Printing
Springfield Gardens Community STEM Club has two Snapmaker U1® four-extruder 3D printers and one large format Flashforge Guider 3 Ultra® dual extruder 3D printer. One Snapmaker U1 was purchased with an Inspiring Tasmania grant. The second Snapmaker U1 was donated by a private party. These are four extruder printers, meaning that our club member can design their creations with up to 4 colours. The "build volume", or maximum size of the 3D model, is 26cm x 26cm x 26cm.

Snapmaker U1® four extruder 3D Printer
In August 2026 we purchased a large-format Flashforge Guider 3 Ultra® dual extruder printer. This has a build volume of 33cm x 33cm x 60cm. The printer was funded with part of a grant from the Tasmania Community Fund for the STEM Engagement Through Building and Racing Electric Cars project, and is being used to fabricate body panels for our Greenpower Goblin electric cars. It will also be used for the future Greenpower F24 projects.

Flashforge Guider 3 Ultra® dual extruder 3D Printer

Some of our 3D Design and Printing projects:
Mothers' Day Vases April 2026
designed by club members using Tinkercad®


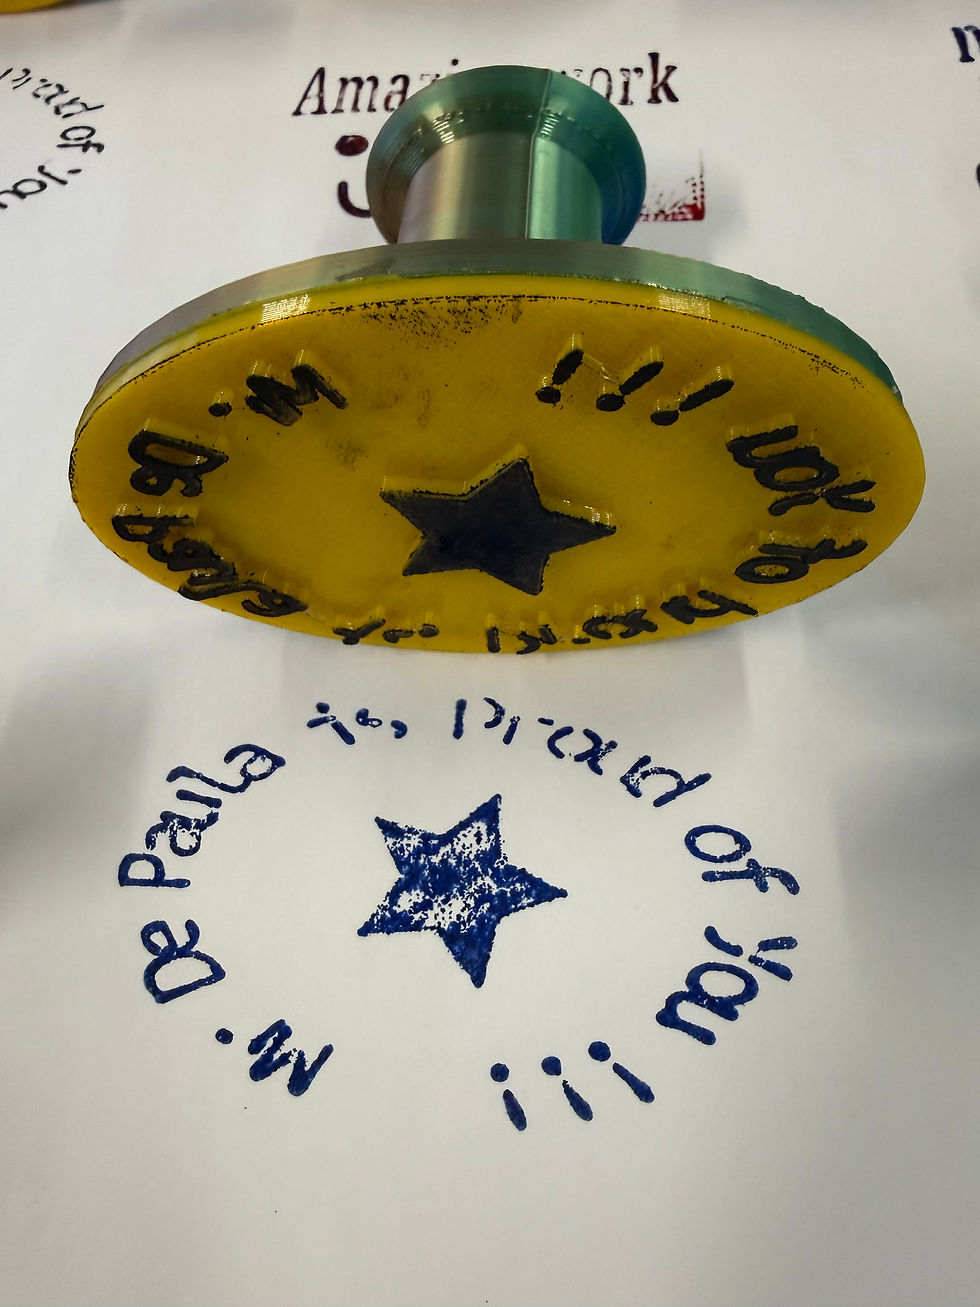
Stamps June 2026
Club members designed stamps for their teachers using Tinkercad®
We made use of the multi-extruder printer to print two materials- standard PLA plastic for the handle and flexible TPU for the stamp.




Club members designed 3D Bodywork for our second Goblin. This has been the most challenging 3D design project to date and is the first 3D printed Goblin bodywork in Australia and perhaps the world.
Designing and Building a 3D Printed Bodywork for our second Goblin Electric Car May to August 2026


The team named the Goblin Car LemonGhini and took their inspiration for the bodywork design from the Lamborghini Huracan

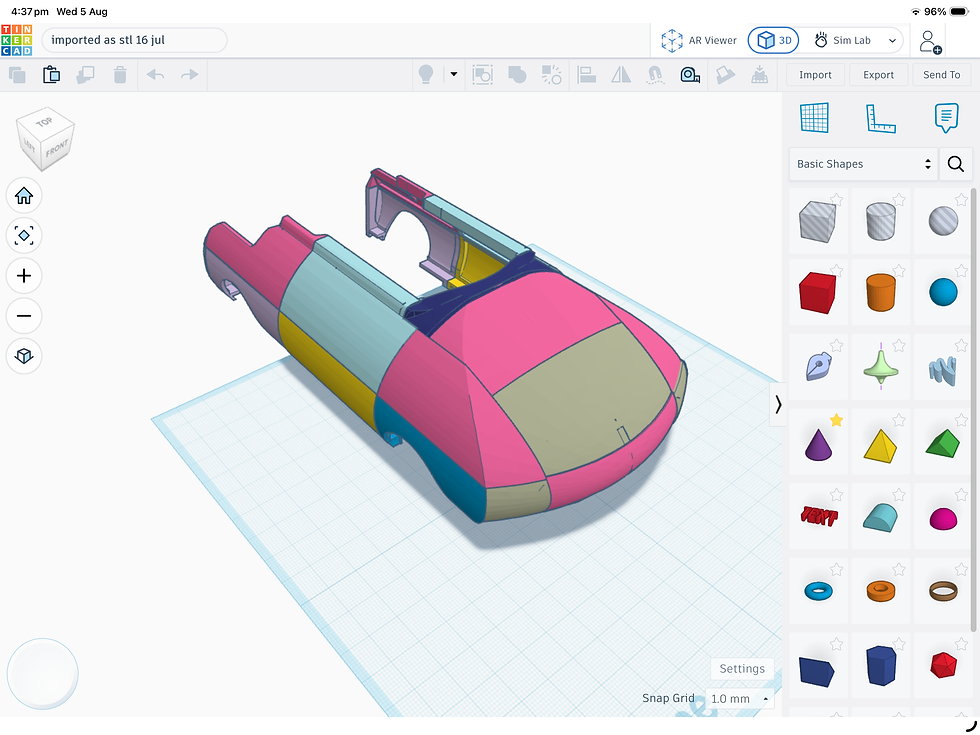
Our assembled Goblin was scanned and imported into Tinkercad to create a 1/10 scale model to use as a base for the bodywork model


Designing the bodywork in Tinkercad and splitting the Tinkercad model into "printable" pieces



Once the panels were printed we put them together using nylon bolts and nuts and attached the assembled panels to LemonGhini!


We printed 10:1 scale models


And then started printing the actual body panels

Each panel took about 24 hours to print

and we had 18 panels

The front section of the body was printed from flexible TPU to meet the rule that parts extending beyond the front of the chassis must be "deformable"

Finally we printed the number plates and decoration


